Foiling can be frustrating or fun. Make it fun with my Top Tips for Foiling Your Stained Glass.
Tips for Burnishing Your Copper Foil
Burnishing is smooshing your foil down to your glass so it’s stuck on there really, really freakin’ well. If you’re having trouble getting your foil to stay stuck, check out this post about what to do when Your Copper Foil Isn’t Sticking To Your Glass.
Edges
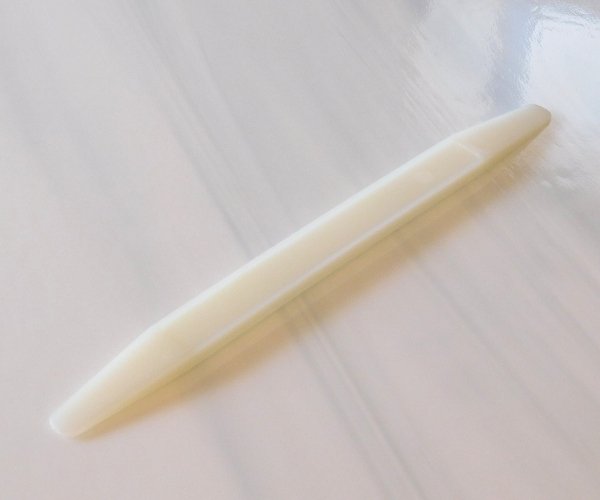
- Hold your glass in one hand, and your fid, like a potato peeler in the other.
- With about the same pressure you’d use to peel said potato (unless you’re an angry potato peeler…then don’t push that hard), rub the fid back and forth on the foil until it’s good and smooshed. You may have a little crinkle or wrinkle or two, but they should be flattened down.
Front & Back
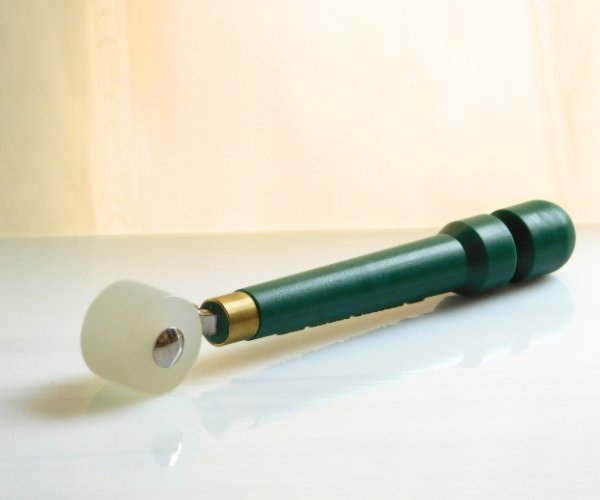
- Feelin’ lazy? Grab a roller fid & zoom zoom zoom all over the front & back

Tips for Getting Neat Corners with Copper Foil
- Use your fingernail to tuck one end of the foil into the other for neat corners. No fingernails? Use the end of your fid. The Creator’s Fid’l Stik works particularly well for this.
- Always burnish in the opposite direction your foil is going…the lil flap that you folded over? Don’t burnish towards it or you may peel it up.
Tips for Foiling Curves in Your Stained Glass Project
Foiling Inside Curves
- While applying your foil, glide your finger inside the curve to make sure there’s no gap between the foil and the glass.
- Rub your finger back and forth on the curve to gently warm the foil up while gently pressing in down to the edge.
Avoiding Splits on Curves
- Make sure your glass & foil are warm. They don’t hafta be hot, just people temperature. Warm foil stretches better than cool foil.
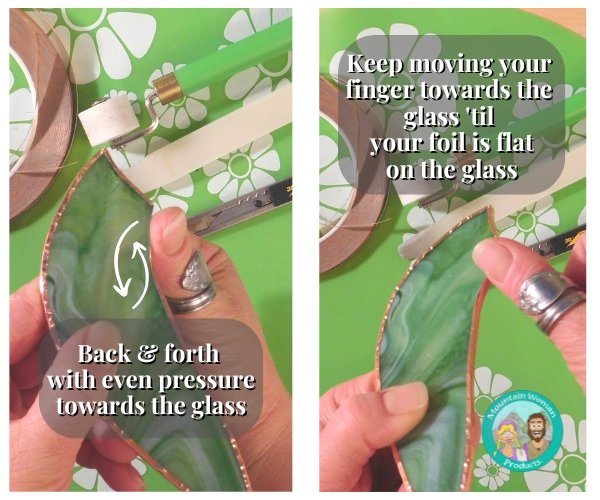
- Like foiling the edges of curves, gently rub your finger or fid back and forth over the curve. But when you’re folding the foil over the edge, don’t just squish it down. With a back and forth motion, slowly tip your finger closer and closer to the glass as you go.
Fixing Splits in Your Copper Foil Tape
- If you have a super deep curve that you know for sure is gonna split, place a piece of foil on your glass perpendicular to the edge. Then when your foil splits, your glass is still covered. You can split the second piece of foil purposely so the split ends up above your fix.
- Or, if you’re pretty good at foiling curves, you can just do the fix if it happens to split. Simply add a piece of foil over top perpendicularly & trim off the excess.
- Either way, only burnish once both pieces of foil are attached. They stick better to each other if you burnish them at the same time because it’s virgin foil to virgin foil (no dirt/tarnish/etc transfer from your fid).
- Mark your glass with a sharpie where your foil fix was & spend less time on that spot with your solder so the foil doesn’t pop up.
Tips for Trimming Your Foil Tape
A super quick way to elevate your stained glass art (& do it right) is to trim your copper foil. Cuz you don’t want something silly like wonky foil to take away from the beautiful glass.
When you’re going around curves with straight tape, it gets a lil herky jerky which looks meh. And you want your straight lines to be, well, straight.
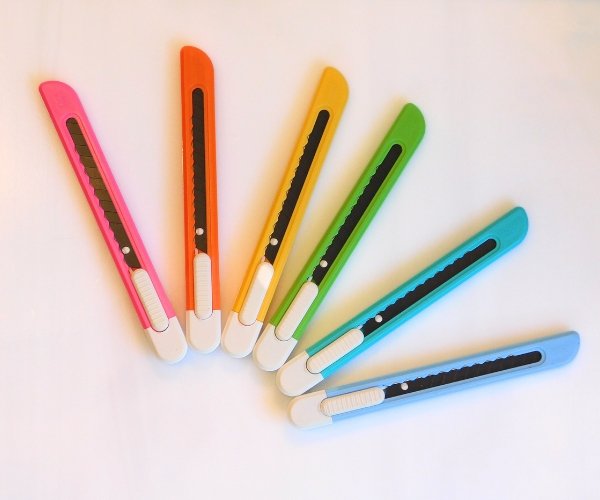
Start out with a good, sharp craft knife. Since you’re only using the very tip of the blade, I like the type with multiple little blades you can break off when you need a new one. Then you don’t waste a big ol exacto knife blade (though they do work if you already have one).
Trimming Circles & Curves
- Instead of moving your craft knife & trying to be a contortionist, keep your knife stable & move your glass. It takes a lil practice, but you’ll get muuuuch smoother curve & circle trims.
Trimming Straight Lines & Overlaps
- Grab a small, thin ruler. Put it on the glass side of your foil (so you can see how much foil you have left) & simply run your knife along the edge to get perfectly straight lines.

And if ya need some help getting your foil even on your glass, check out this post.
